Welcome to our comprehensive guide on how to get seeds from a hibiscus plant! If you’re a fan of these beautiful tropical blooms and want to propagate new plants, you’re in the right place. We’ll walk you through the process of harvesting and collecting hibiscus seeds, as well as provide you with tips for successful hibiscus plant propagation. So, let’s dive in and learn all about saving and harvesting hibiscus seeds!
Choosing and Harvesting Hibiscus Seeds
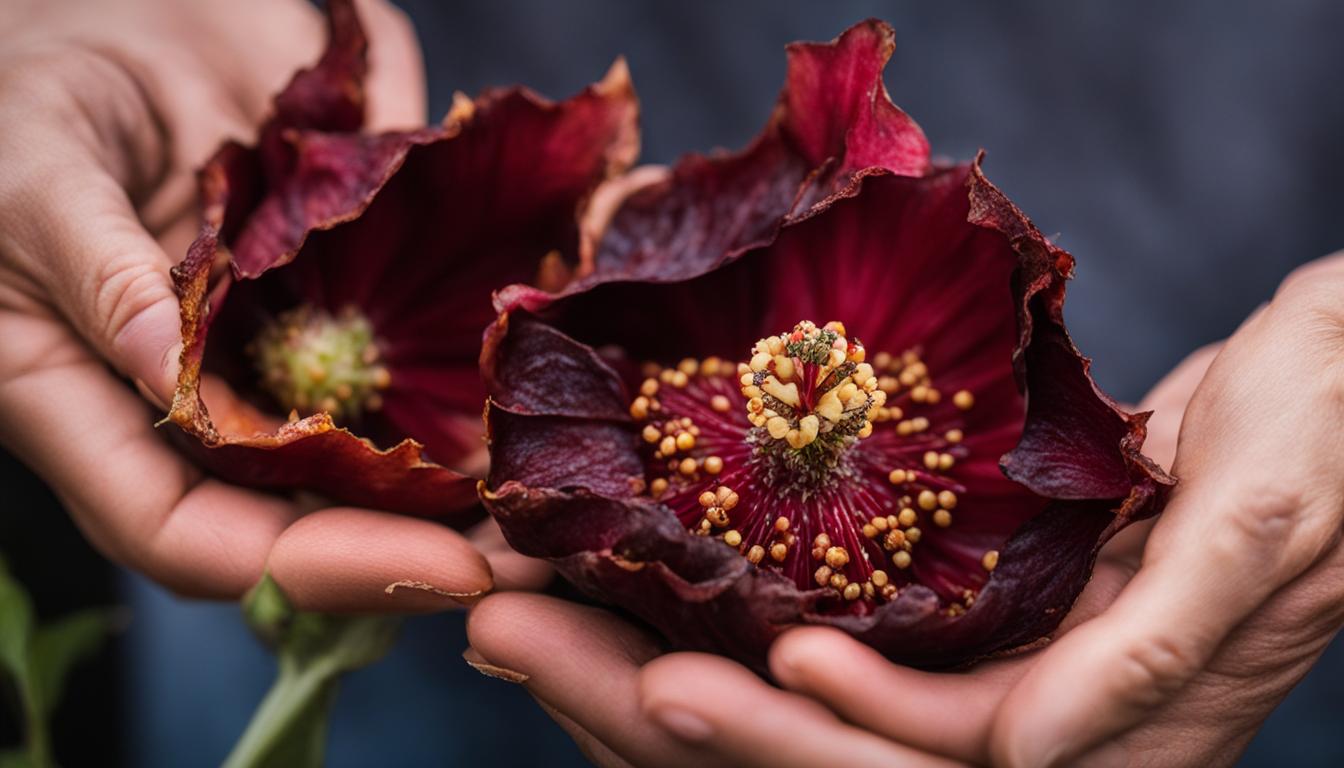
To propagate new hibiscus plants, it is essential to choose and harvest the seeds properly. The process begins by waiting for a healthy hibiscus bloom to wilt and die. At the base of the bloom, a seed pod will develop. It is important to wait for the seed pod to turn brown and dry out before harvesting, as this indicates that the seeds are mature and ready for collection.
To collect the seeds, place a paper sack underneath the bloom and gently shake it to release the seeds. Some pods may need to be manually opened to access the seeds. Most hibiscus pods contain 10 to 25 seeds, although some may have up to 100. It is essential to handle the seeds with care to prevent any damage.
Tip: Harvesting hibiscus seeds can be a delicate process. Be patient and wait for the seed pod to completely dry out before collecting the seeds, as this ensures they are mature and viable for planting.
Once the seeds are collected, it is time to move on to the next step: drying and storing the hibiscus seeds. Properly drying the seeds ensures their longevity and successful germination in the future.
| Drying and Storing Hibiscus Seeds |
|---|
| Step 1: Place the collected seeds in a dry and well-ventilated area to dry completely. This process can take about a week. |
| Step 2: Transfer the dried seeds to a tray or baking sheet to remove any remaining plant debris. |
| Step 3: Ensure the seeds are completely dry before storing them. Any moisture can lead to mold or rot, reducing their viability. |
| Step 4: Store the seeds in a labeled white paper envelope, in a cool and dry place until ready for planting in the spring. |
By following these steps, you can successfully harvest, collect, and store hibiscus seeds for future propagation. Taking the time to choose mature seed pods and properly drying and storing the seeds will greatly increase the chances of successful germination when it comes time to plant them.
Drying and Storing Hibiscus Seeds
After collecting the hibiscus seeds, it is important to properly dry and store them to ensure their viability for future planting. Follow these steps to effectively dry and store your hibiscus seeds.
Drying the Seeds
Place the collected hibiscus seeds in a dry, well-ventilated area. You can lay them out on a tray or baking sheet lined with parchment paper. Allow the seeds to dry completely, which usually takes about a week. It is essential that the seeds are thoroughly dried before storing them to prevent mold or rot.
Removing Debris
Once the hibiscus seeds are completely dry, carefully transfer them to a clean tray or baking sheet. Inspect the seeds and remove any remaining plant debris such as flower parts or dried petals. This will help ensure that the seeds stay clean and free from contaminants during storage.
Storing the Seeds
To store the hibiscus seeds, use a white paper envelope or a small, labelled glass jar. The envelope or jar should be clean and dry, with no moisture or humidity. Place the seeds inside the envelope or jar and seal it tightly. Store the envelope or jar in a cool, dry place, such as a cupboard or refrigerator, until you are ready to plant the hibiscus seeds in the spring.
By following these steps, you can effectively dry and store your hibiscus seeds, ensuring their quality and viability for future planting. Proper storage will help maximize the germination rate and increase your chances of successfully growing hibiscus plants from seeds. Remember to label the envelope or jar with the date and variety of the hibiscus seeds for easy reference in the future.

Growing Hibiscus from Seeds
Growing hibiscus from seeds is a satisfying and rewarding way to nurture your own beautiful plants. By following a few simple steps, you can successfully start hibiscus plants from seeds and enjoy their vibrant blooms in your garden.
Step 1: Sowing the Seeds
To begin, fill a seed tray or small pots with a seed-starting mix. Make sure the mix is moist but not waterlogged. Take the hibiscus seeds and sow them in the soil at a depth of about half an inch. Space the seeds a few inches apart to allow room for growth.

Step 2: Providing the Right Conditions
Once the seeds are sown, cover the tray or pots with a plastic cover or place them inside a clear plastic bag to create a greenhouse-like environment. This will help retain moisture and warmth, creating the ideal conditions for germination. Place the tray or pots in a warm location, such as near a sunny window or on a heat mat.
Related Posts:


Step 3: Nurturing the Seedlings
After a couple of weeks, the hibiscus seeds will begin to germinate and tiny seedlings will emerge. At this stage, remove the plastic cover and provide the seedlings with ample light. If natural sunlight is not available, use grow lights to ensure they receive adequate illumination. Keep the soil consistently moist, but avoid overwatering as this can lead to root rot.
Step 4: Transplanting and Care
Once the seedlings have developed a few sets of true leaves and the danger of frost has passed, they can be transplanted outdoors. Choose a sunny location with well-draining soil. Dig a hole slightly larger than the root ball of the seedling and gently place it in the hole. Backfill with soil and pat down gently. Water the newly transplanted seedlings and continue to provide regular watering and care as needed.
| Key Steps | Tips |
|---|---|
| Sow the seeds in a seed-starting mix | Choose a mix that provides good drainage |
| Provide warmth and moisture for germination | Use a plastic cover or clear plastic bag to create a greenhouse effect |
| Give the seedlings plenty of light | Use grow lights if natural sunlight is limited |
| Transplant outdoors once the seedlings have developed | Choose a sunny location and water regularly |
With patience, care, and the right conditions, you can successfully grow hibiscus plants from seeds. Enjoy the process of nurturing these beautiful flowers and watch as they bloom to brighten your garden.
Conclusion
Harvesting and collecting seeds from a hibiscus plant can be a rewarding way to propagate new plants. By following the steps of choosing a healthy bloom, waiting for the seed pod to mature, and properly drying and storing the seeds, you can successfully grow new hibiscus plants from seeds.
Remember to provide the seeds with the proper growing conditions, such as a seed-starting mix, consistent moisture, and adequate light. This will ensure that the seeds have the best chance of germinating and growing into healthy plants.
With a little patience and care, you can enjoy the beauty of hibiscus plants in your own garden. Imagine the vibrant colors and tropical foliage that will brighten up your outdoor space. So why not give it a try? Start harvesting and collecting hibiscus seeds today and watch as your garden flourishes with these stunning plants.
FAQ
How do I collect seeds from a hibiscus plant?
Wait for a healthy hibiscus bloom to wilt and die, then look for a brown and dried seed pod at its base. Gently shake the bloom or manually open the pod to release the seeds.
How many seeds does a hibiscus pod usually contain?
Most hibiscus pods contain 10 to 25 seeds, but some may have up to 100.
How do I dry and store hibiscus seeds?
After collecting the seeds, place them in a dry and well-ventilated area for about a week to ensure they are completely dry. Then transfer them to a tray or baking sheet to remove any debris. Store the seeds in a white paper envelope labeled with the variety, and keep it in a cool, dry place until planting.
How do I grow hibiscus from seeds?
Sow the seeds in seed-starting mix at a depth of about half an inch. Keep the container moist and provide warmth using a heat mat or greenhouse. Once the seeds sprout, remove the cover and provide ample light with grow lights. Thin the seedlings as they develop leaves and feed them with diluted water-soluble fertilizer. Transplant them outdoors after the danger of frost has passed.