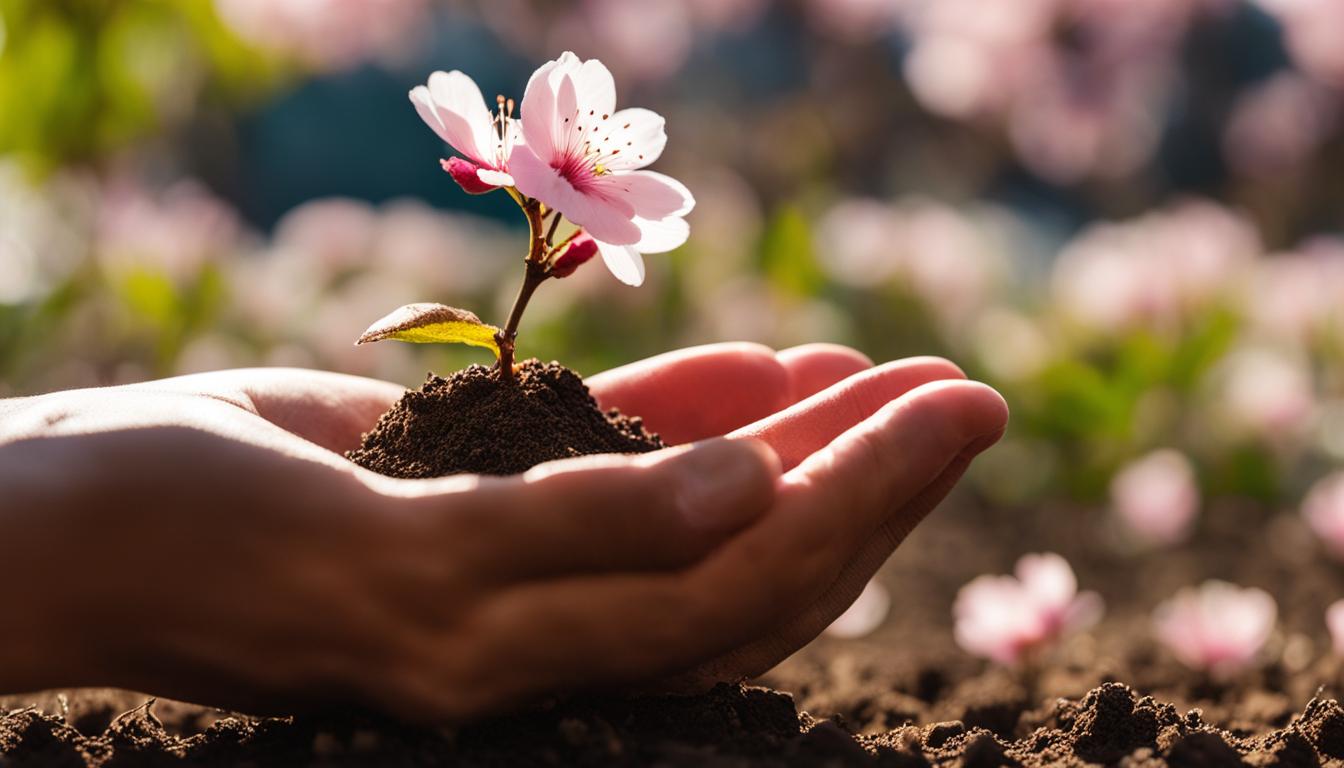
Welcome to our comprehensive guide on how to plant cherry blossom seeds! If you’ve ever dreamed of having your own cherry blossom trees, this article is for you. We’ll walk you through the step-by-step process, from scarification to stratification, so you can successfully grow your very own cherry blossoms.
Cherry blossom tree planting may seem daunting, but with the right techniques and a little patience, you’ll be able to enjoy the beauty of these delicate flowers in your own backyard. Our cherry blossom seeds planting guide will provide you with all the information you need to get started. So let’s dive in!
First, let’s talk about scarification. This crucial step involves weakening the hard outer shell of the seeds to improve germination. We’ll explore different scarification methods, including soaking the seeds in hydrogen peroxide and using sandpaper or a knife to break down the shell.
Next, we’ll discuss stratification, which mimics winter conditions to stimulate germination. Refrigerating the seeds in a moist paper towel helps prepare them for sprouting. We’ll guide you through the best practices for stratifying your cherry blossom seeds.
Finally, we’ll cover planting options. Whether you choose to plant your seeds in pots or directly in the ground, we’ll provide tips and recommendations to ensure successful growth. From selecting the right soil mix to optimizing light exposure, we’ve got you covered.
So, if you’re ready to embark on your cherry blossom planting journey, read on. By the end of this guide, you’ll have all the knowledge and confidence you need to plant and grow your own cherry blossom trees. Let’s get started!
Scarification Methods for Cherry Blossom Seeds
When it comes to planting cherry blossom seeds, scarification is a crucial step that helps weaken the hard outer shell of the seeds, enhancing their chances of successful germination and growth. There are several methods you can use to scarify your cherry blossom seeds, each with its own advantages and considerations.
Soaking in Hydrogen Peroxide
One simple and effective method is to soak the seeds in hydrogen peroxide for about 10 minutes. This gentle yet potent solution helps weaken the seed shell, making it easier for the seedling to emerge. Make sure to use a diluted hydrogen peroxide solution, as excessive concentration can harm the seeds. After soaking, rinse the seeds thoroughly with water before planting.
Using Sandpaper or a File
Another way to scarify cherry blossom seeds is by using sandpaper or a file to gently wear down the hard shell. Rub the seeds against the sandpaper or file in a circular motion, taking care not to damage the inner seed. This method helps create small scratches on the seed coat, allowing moisture to penetrate and kick-start germination.
Slicing or Scraping the Shell
If you prefer a slightly more hands-on approach, you can try slicing or scraping the outer shell of the cherry blossom seeds. Use a sharp knife to make small cuts or gently scrape the surface of the seed, focusing on the pointed end. This method helps create tiny openings that enable better water absorption and initiate the germination process.
Remember, no matter which scarification method you choose, it’s important to handle the seeds with care and avoid damaging the delicate inner portion. By properly scarifying your cherry blossom seeds, you’ll increase their chances of sprouting and growing into beautiful trees that will fill your garden with the enchanting beauty of cherry blossoms.
| Scarification Methods | Advantages |
|---|---|
| Hydrogen Peroxide Soaking | Simple and effective |
| Using Sandpaper or a File | Creates small scratches for moisture absorption |
| Slicing or Scraping the Shell | Creates tiny openings for water absorption |
Stratification Process for Cherry Blossom Seeds
After scarification, the cherry blossom seeds need to undergo stratification to stimulate germination. This process helps mimic the winter conditions that the seeds would naturally experience, encouraging them to sprout. Here are some best practices for stratifying cherry blossom seeds:
1. Gather the necessary materials
To begin the stratification process, you will need the following materials:
- Cherry blossom seeds
- Moist paper towel
- Labeled plastic bag
- Refrigerator
2. Prepare the seeds for stratification
Place the cherry blossom seeds on a moist paper towel and fold it over to cover them completely. Make sure the paper towel is damp but not soaking wet. Then, transfer the seeds and paper towel into a labeled plastic bag. Seal the bag tightly to create a controlled environment.
3. Refrigerate the seeds
Put the labeled plastic bag with the seeds in the refrigerator. The temperature should be around 35-45°F (2-7°C). This cold environment will simulate winter conditions, helping to break the seed dormancy and trigger germination. Check the seeds regularly to ensure the paper towel remains moist. If it starts to dry out, gently dampen it with water.
4. Monitor and maintain
During the stratification period, which can vary from several weeks to several months, monitor the seeds for any signs of sprouting. Once you notice sprouts, it is time to plant the seeds. Continue to provide the necessary care and attention, such as maintaining moisture levels, until the seeds have successfully germinated.
By following these best practices for stratifying cherry blossom seeds, you can increase the chances of successful germination and ultimately grow your own beautiful cherry blossom trees.
Related Posts:


Planting Cherry Blossom Seeds in Pots or Ground
Now that you have successfully scarified and stratified your cherry blossom seeds, it’s time to plant them either in pots or directly in the ground. Both methods have their advantages, and the choice depends on your preference and available space.
Planting in Pots
If you decide to plant your cherry blossom seeds in pots, it’s important to choose the right type of container. Opt for pots that have drainage holes at the bottom to prevent waterlogged roots. Use a well-draining potting mix with some sand or gravel added for improved drainage.
When filling the pots, make sure to leave enough space for the seedlings to grow. Plant the seeds about 1 inch deep and cover them with soil. Water the pots thoroughly and place them in a sunny location where they can receive at least 6 to 8 hours of sunlight per day.
Planting in the Ground
If you have enough space in your garden, planting the cherry blossom seeds directly in the ground can be a great option. Choose a suitable location that receives full sunlight and has well-draining soil. Adding sand to the soil can help improve drainage.
Prepare the planting area by removing any weeds or grass and loosening the soil with a garden fork or tiller. Plant the seeds about 1 inch deep and cover them with soil. Water the area thoroughly and keep the soil consistently moist until germination occurs.
Regardless of whether you choose pots or the ground, it’s important to keep the soil moist but not waterlogged. Be patient, as germination can take anywhere from a few weeks to several months. Once the seedlings emerge, continue to provide them with regular water and care as they grow into beautiful cherry blossom trees.
Table: Comparing Planting Methods
| Planting Method | Pros | Cons |
|---|---|---|
| Pots |
|
|
| Ground |
|
|
Remember, regardless of the planting method you choose, proper care and maintenance are essential for the successful growth of cherry blossom trees. Regular watering, monitoring for pests or diseases, and providing appropriate sunlight and nutrients will help your cherry blossoms thrive.
Conclusion
Growing cherry blossoms from seeds can be a rewarding and fulfilling experience. By following the necessary steps of scarification and stratification, along with providing the proper growing conditions, you can successfully plant and nurture your very own cherry blossom trees. Remember to choose the appropriate scarification method that suits your needs, carefully prepare the seeds for stratification, and select the most suitable planting method, whether it be in pots or directly in the ground.
Throughout the process, patience is key. Germination can take several weeks to several months, and it requires regular monitoring and maintenance. Keep an eye out for sprouts and ensure that the moisture levels are consistently maintained. Remember to provide the seeds with the right amount of light and ensure proper drainage for healthy growth.
With dedication and care, you can enjoy the breathtaking beauty of cherry blossoms gracing your own landscape. Take pride in your achievements, and embrace the joy that comes with witnessing the delicate petals and serene ambiance that cherry blossom trees bring. So go ahead, embark on this enchanting journey, and create a sanctuary of natural wonders right at your doorstep.
FAQ
What is scarification and why is it important for planting cherry blossom seeds?
Scarification involves weakening the hard outer shell of the seeds to increase the chances of successful germination. By scarifying the seeds, you improve their ability to absorb water and nutrients, leading to better growth.
What are some methods of scarifying cherry blossom seeds?
Some common methods of scarification include soaking the seeds in hydrogen peroxide, using sandpaper or a file to wear down the shell, slicing or scraping the shell with a knife, or breaking open the shell. The goal is to weaken the shell without damaging the inner seed.
How does stratification help in the planting of cherry blossom seeds?
Stratification mimics the winter conditions that the seeds would naturally experience, stimulating germination. By refrigerating the seeds in a moist paper towel, you create the cold and moist environment necessary for successful germination.
How long does germination take after stratification?
Germination can take several weeks to several months, depending on the variety of cherry blossom seeds. It is important to regularly monitor the seeds for sprouts and maintain the moisture level during this time.
Can cherry blossom seeds be planted in pots or in the ground?
Yes, cherry blossom seeds can be planted in both pots and in the ground. When planting in pots, use a well-draining potting mix with some sand or gravel added for drainage. If planting in the ground, choose a suitable location and prepare the soil by adding sand to improve drainage.
How long does it take for cherry blossom seeds to germinate?
It may take a few weeks to several months for cherry blossom seeds to germinate. Patience is key, and regular watering is necessary to keep the moisture level consistent.
Is it possible to grow cherry blossom trees from seeds?
Yes, it is possible to grow cherry blossom trees from seeds. By following the steps of scarification and stratification, and providing the right growing conditions, you can successfully plant and grow your own cherry blossom trees.